Rice milk recipe: Have you ever heard or read the word “carrageenan”? If you look at your food’s ingredients list you may have seen it before, even if you buy ecological or natural products! This additive appears in lots of products, and that’s the reason why I started to make my own plant milk.
We can find lots of harmful additives on our groceries, even if we are careful with our nutrition lifestyle, they can be literally almost everywhere.
At first (and that was already a few years ago) I felt overwhelmed about that, I thought that all these additives were forbidden, but you can still find them! And as I said, even on ecological products. That’s why for me is more important to buy local, natural and additive-free products than only ecological products (and always check labels).
Anyway, those carrageenan give a response on our body, alerting our immune systems and creating an inflammation response, and they are specially dangerous for kids or pregnant woman since they create a slowdown in body development.
There is a lot of controversial with the topic of animal milks and how animals are treated to have their milk so if there is no medical contraindication vegetable milk is an alternative that we should study.
And one day my dear “instafriend” Mariam (https://mariamfrehley.com/) posted the almond milk recipe, I never thought that it was so easy! ? Link her almond milk recipe here .
I started trying plants milks recipes and they are simple, healthy and super yummy.
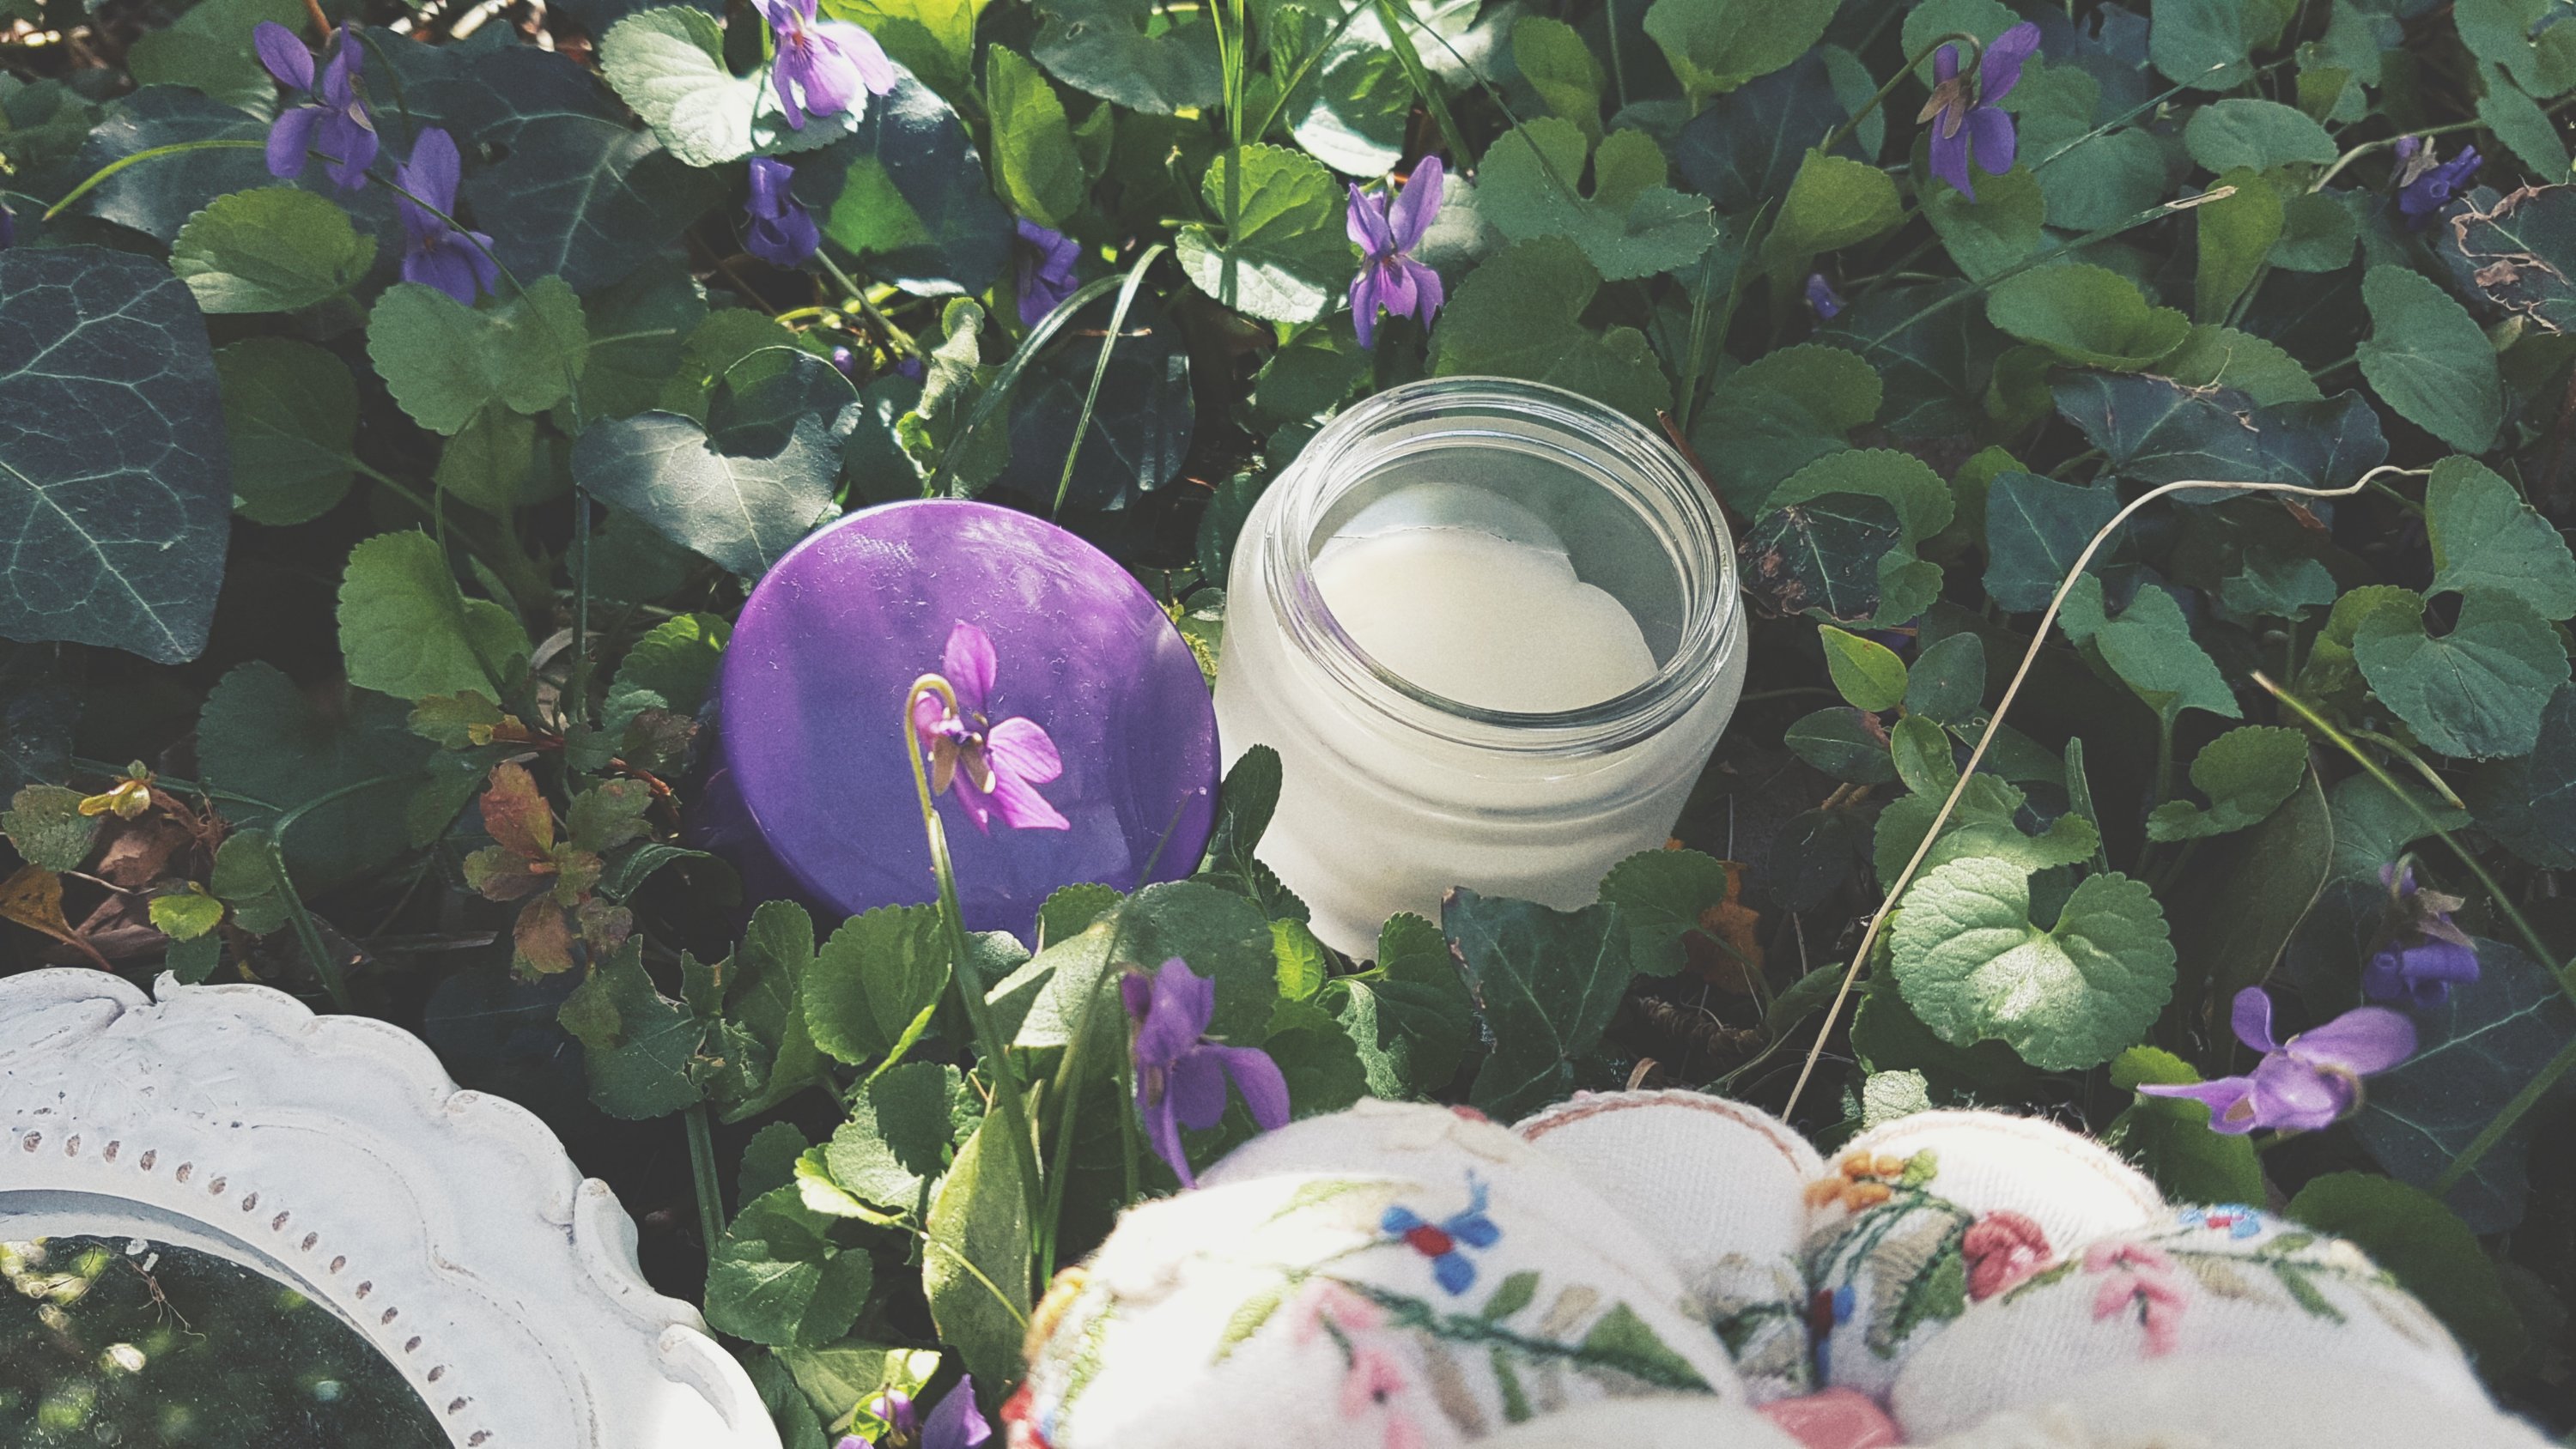
I love rice milk so is this one that I am going to share,but they have all the same steps so you’ll choose your favorite cereal to make them.

Ingredients:
For 1 liter of rice milk:
– one cup of rice.
– 4cups of water.
– (optional) “extras” like cinnamon or vanilla.
– (optional) a sweetener like honey or dates.
You’ll just need to let the rice on the 4 cups of water for the night and the next day blend it with another cup of water. Then add the optional ingredients if you want it.
Strain the rice in a cloth filter and :
That’s it, ready to drink!??

So tell me, have you tried rice milk recipes before?
Subscribe to my newsletter so you don’t miss any free printable and other monthly tips and inspiration.
Find my DIY ideas and crafts classed by themes on my “about me” page
https://test.scrapsandcoffeegrounds.coma-propos/?preview=true&preview_id=1&preview_nonce=b6a95f434e&frame-nonce=d2ac28a990&=1
Follow for more on my Instagram https://instagram.com/scraps.and.coffee.grounds?utm_medium=copy_link
And you can support my work https://ko-fi.com/scrapsandcoffeegrounds